Homelab: Accessing my k3s cluster securely from anywhere with Tailscale
Introduction
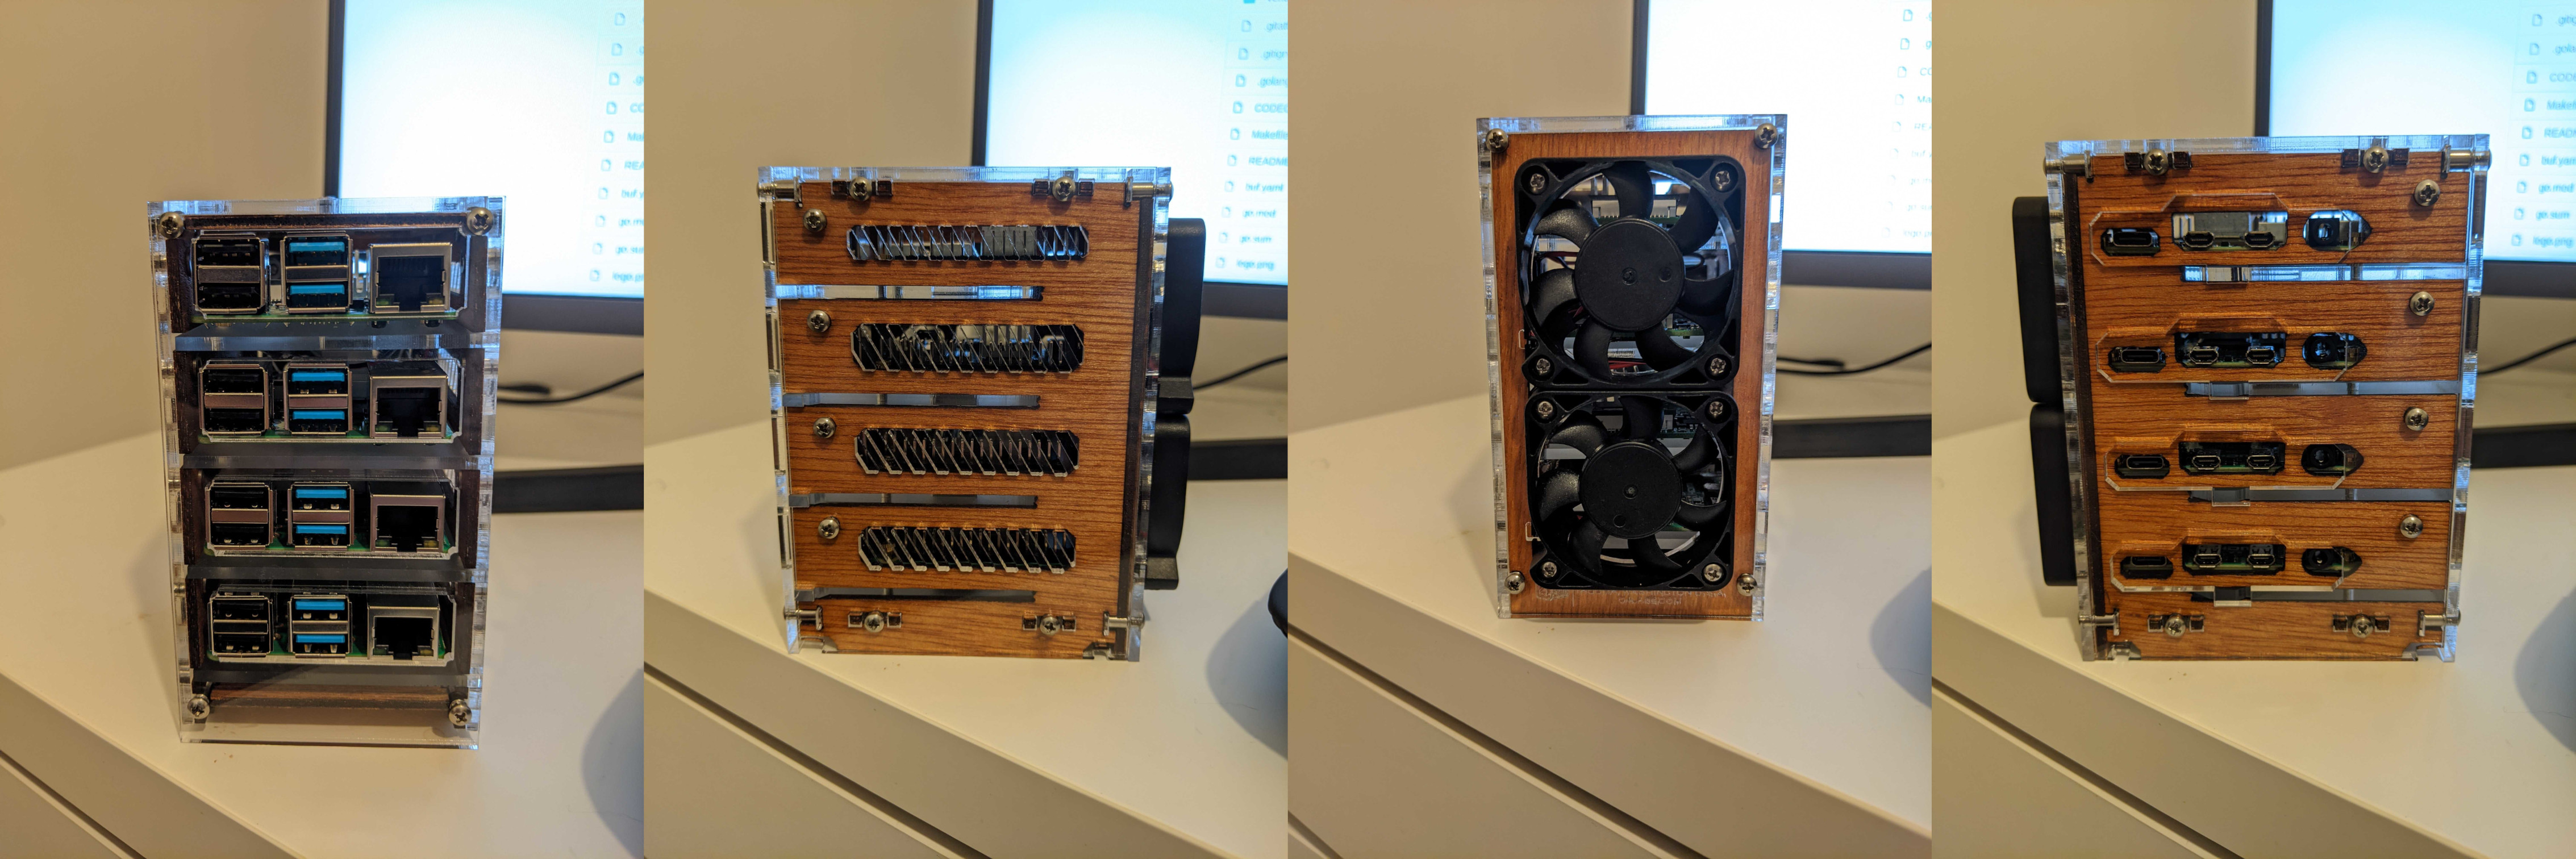
At home, I run my own k3s cluster on 4 Raspberry Pi 4Bs. In order to access the services I run from anywhere without exposing my cluster to the open internet I use Tailscale, a service designed to make a private VPN really easy to set up. I run a bunch of services, including (but not limited to) a password manager, Google Photos alternative, finance management tools etc.
This post aims to describe how my cluster is set up to use Tailscale, allowing me to resolve DNS via Cloudflare restricting
access solely to me (or anyone I share my Tailscale machines with). This allows me to go to https://bitwarden.homelab.dsb.dev
on any device I have connected to my Tailscale network and access my own password manager instance.
Cluster Setup
My k3s cluster consists of four nodes. Each one is a Raspberry Pi 4B+, the 8GB model. I’ve been pleasantly surprised with how much you can run on these small machines, every year they seem to pack more and more power into a credit card’s worth of space. The GitHub repository has a full overview of the setup you can view for yourself.
Installing Tailscale
Each node in the cluster is running Ubuntu for Raspberry Pi, so installing Tailscale is as simple as following the instructions for ubuntu.
- Add Tailscale’s package signing key and repository
curl -fsSL https://pkgs.Tailscale.com/stable/ubuntu/focal.gpg | sudo apt-key add -
curl -fsSL https://pkgs.Tailscale.com/stable/ubuntu/focal.list | sudo tee /etc/apt/sources.list.d/Tailscale.list
Personally, I use the unstable repository instead, because I like to be bleeding edge. It’s worth adding that I keep
regular backups of everything on my cluster, just in case my bleeding-edge tendencies end up with me breaking my cluster
or losing access to things I need.
- Install Tailscale
sudo apt-get update
sudo apt-get install Tailscale
- Authenticate and connect your machine to your Tailscale network
sudo Tailscale up
I did this for each node, you could use a terminal multiplexer (like tmux) to speed things up a bit.
Installing K3S
Next, we need to install k3s on each node to get a cluster running. The documentation is the authoritative source for this, but I’m also going to outline the quickstart steps here.
- Install the k3s server for the control plane node. Including setting the node’s advertise address as the Tailscale IP,
rather than the local network IP, this is done via the
--bind-addressflag. This is optional, but saves you having to set up a static IP address for your machine. It also means the cluster nodes will communicate via the Tailscale network.
curl -sfL https://get.k3s.io | sh -s - --bind-address <TAILSCALE_IP>
Rancher have provided a simple script to get things up and running quickly. I’d advise you take a look at it first rather
than just running some script off the internet. Once complete, grab the token required for your agent nodes to join the
cluster. This is stored at /var/lib/rancher/k3s/server/node-token.
- Install the k3s agent on all the other nodes
Here, we set up each agent node in the cluster. Once again, rancher have provided a simple script:
curl -sfL https://get.k3s.io | K3S_URL=https://<SERVER_TAILSCALE_IP>:6443 K3S_TOKEN=<NODE_TOKEN> sh -
SERVER_TAILSCALE_IP is the Tailscale IP address of your control-plane node. NODE_TOKEN is the token mentioned in the
previous step. After following these steps, you’ve now got a k3s cluster running, where all nodes communicate via
Tailscale. Go you!
Ingresses
By default, k3s comes with Traefik already deployed. Because I’m using a .dev domain, I also
needed to ensure everything I serve on my domain was using https. To do this, I’ve added cert-manager
to my cluster. Cert-manager allows me to generate TLS certificates for my ingresses automatically via letsencrypt.
All I have to do is add additional annotations to my Ingress resources.
If you also want to use cert-manager, it’s easiest for you to follow their instructions, as explaining it all here would be out of scope for this blog post, since you may not even care about using HTTPS at all. In brief, my cert-manager deployment authenticates with cloudflare using an API key with limited permissions using a DNS-01 challenge. You can read more about DNS-01 challenges here. You can also see my cert-manager deployment here.
Here’s my Ingress resource for my Bitwarden deployment:
apiVersion: networking.k8s.io/v1
kind: Ingress
metadata:
  name: bitwarden
  annotations:
    kubernetes.io/ingress.class: traefik
    traefik.ingress.kubernetes.io/router.tls: "true"
    traefik.ingress.kubernetes.io/router.entrypoints: https
    cert-manager.io/cluster-issuer: cloudflare
spec:
  tls:
  - hosts:
    - bitwarden.homelab.dsb.dev
    secretName: bitwarden-tls
  rules:
  - host: bitwarden.homelab.dsb.dev
    http:
      paths:
      - backend:
          service:
            name: bitwarden
            port:
              number: 80
        path: /
        pathType: Prefix
Here I’m telling Traefik that any inbound requests for bitwarden.homelab.dsb.dev should route to a Service resource
named bitwarden, and that TLS certificates should be stored in a secret named bitwarden-tls, issued via cert-manager.
Cloudflare DNS
The last step is to set up appropriate DNS records to route requests to the cluster when connected to the Tailscale
network. For my use-case, I want any subdomain of homelab.dsb.dev to go straight to the cluster. This way, I don’t
need DNS records for each individual application I want to expose.
I manage these records using Terraform, and the setup is fairly straightforward. To start with, I needed to set up the cloudflare provider:
provider "cloudflare" {
  email   = var.cloudflare_email
  api_key = var.cloudflare_api_key
}
All you need is to provide the email address you use for your cloudflare account, and the API key. Next, you need to
be able to grab the zone identifier for your domain. Since I have a single domain dsb.dev, I just created a simple
data source that returns all my cloudflare zones:
data "cloudflare_zones" "dsb_dev" {
  filter {}
}
If you have multiple domains, you’re going to want to modify that filter to return the one you care about. You can see the documentation for that here.
Lastly, I needed to create a DNS record for each node in the cluster, using its Tailscale IP address. The name of each
record is *.homelab, which specifies that any requests to a subdomain of homelab.dsb.dev gets sent straight to the
cluster, providing you have access to the Tailscale network:
resource "cloudflare_record" "homelab_0" {
  zone_id = lookup(data.cloudflare_zones.dsb_dev.zones[0], "id")
  name    = "*.homelab"
  value   = var.homelab_0_ip
  type    = "A"
  ttl     = 3600
}

resource "cloudflare_record" "homelab_1" {
  zone_id = lookup(data.cloudflare_zones.dsb_dev.zones[0], "id")
  name    = "*.homelab"
  value   = var.homelab_1_ip
  type    = "A"
  ttl     = 3600
}

resource "cloudflare_record" "homelab_2" {
  zone_id = lookup(data.cloudflare_zones.dsb_dev.zones[0], "id")
  name    = "*.homelab"
  value   = var.homelab_2_ip
  type    = "A"
  ttl     = 3600
}

resource "cloudflare_record" "homelab_3" {
  zone_id = lookup(data.cloudflare_zones.dsb_dev.zones[0], "id")
  name    = "*.homelab"
  value   = var.homelab_3_ip
  type    = "A"
  ttl     = 3600
}
You can view the full terraform configuration here.
I run Traefik as a DaemonSet in my cluster, meaning whichever node receives the request can route it to the appropriate
service regardless of the node its running on. This allows me to do some basic load balancing. The main caveat here, is for
each new node I add, I also need a new DNS record, but since this is my homelab, I’m not planning on increasing the node size
to a larger size where I’d need to automate this.
Wrapping up
The above setup allows me to access all the applications I have running on my home k3s cluster from anywhere providing I have a connection to the Tailscale network. This works great for me, especially since Tailscale also has an android app, which allows me to access my password manager and other applications on my phone, all without exposing my cluster to the public internet!
Combining it with cert-manager also gives me the ability to secure everything with HTTPS and use a FQDN on a domain that I own.
Links
- https://github.com/davidsbond/homelab
- https://tailscale.com/
- https://k3s.io
- https://www.raspberrypi.org/products/raspberry-pi-4-model-b/
- https://ubuntu.com/raspberry-pi
- https://tailscale.com/kb/1039/install-ubuntu-2004
- https://github.com/tmux/tmux
- https://rancher.com/docs/k3s/latest/en/quick-start/
- https://traefik.io/
- https://cert-manager.io/
- https://letsencrypt.org/
- https://cert-manager.io/docs/installation/kubernetes/
- https://letsencrypt.org/docs/challenge-types/#dns-01-challenge
- https://github.com/davidsbond/homelab/tree/master/manifests/cert-manager
- https://www.terraform.io/
- https://registry.terraform.io/providers/cloudflare/cloudflare/latest/docs/data-sources/zones#filter
- https://github.com/davidsbond/homelab/tree/master/terraform/cloudflare